 Save
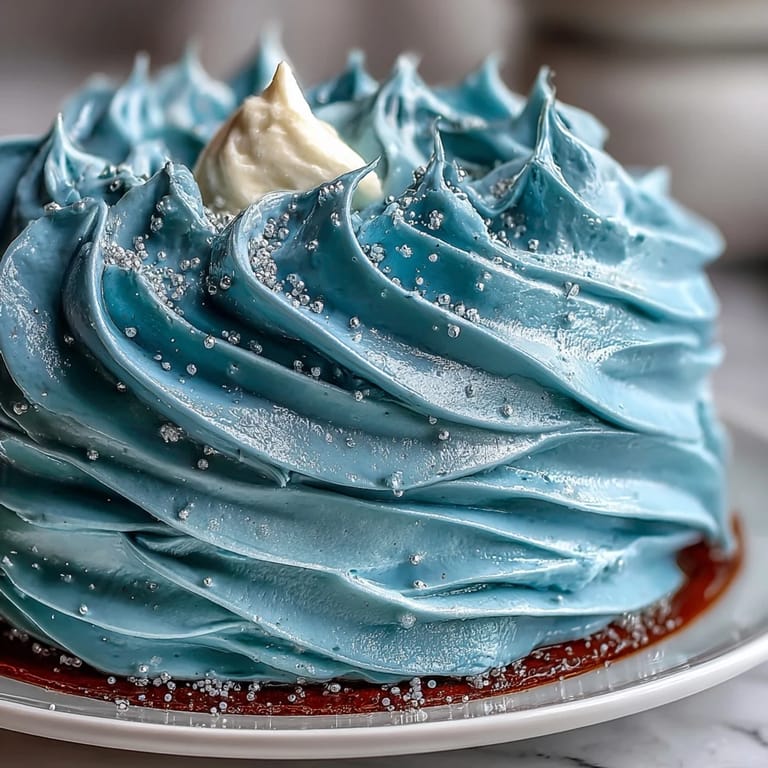
Save When I first set out to make an ocean-themed cake, my kitchen took on the aroma of warm vanilla and the subtle scent of melted chocolate drifting from the stovetop. There was something oddly meditative about swirling buttercream to mimic the shifting blues of a tide pool—my hands just followed the rhythm of the spatula, hypnotized by the gradual blending of deep cobalt and aquamarine. Crackling shells of white chocolate made a playful contrast, scattered like hidden treasures among the buttercream waves. It’s a testament to the magic of themed cakes: each element tells a story, and together they evoke the spirit of the Cancer zodiac like a gentle sea breeze brushing the shore.
I still recall the chatter around my dining table last summer as friends debated the merits of different zodiac signs, each slice of cake vanishing with a smile. The sparkling shimmer on the shells caught the candlelight and someone joked that I’d turned dessert into a piece of jewelry—the best compliment I’ve ever received over cake.
Ingredients
- All-purpose flour: Use a gentle hand when measuring to keep the crumb tender and light.
- Baking powder: Lends lift—don’t skip the sifting for even rise.
- Salt: Brings out the vanilla and balances the sweetness.
- Unsalted butter: Start with room temperature butter for fluffy creaming, a trick I learned after too many lumpy batters.
- Granulated sugar: Don’t rush creaming—wait for pale and fluffy before moving on.
- Eggs, room temperature: They emulsify best when not cold, preventing dense streaks.
- Vanilla extract: Use pure vanilla if possible—its perfume matters here.
- Whole milk: Richness matters in layer cakes, and whole milk is your ally.
- Powdered sugar (for buttercream): Sift it for an impossibly smooth finish.
- Heavy cream: The secret to extra-whippy, lush frosting.
- Blue gel food coloring: Gel gives vibrant, streak-free color without watering down the buttercream.
- White chocolate chips or candy melts: These pop neatly out of silicone molds, and white chocolate takes on pearl dust perfectly.
- Edible pearl/luster dust and edible glitter or shimmer spray (optional): A finishing flourish to make your cake glisten like ocean spray.
Tired of Takeout? 🥡
Get 10 meals you can make faster than delivery arrives. Seriously.
One email. No spam. Unsubscribe anytime.
Instructions
- Prep Your Pans and Oven:
- Set the oven to 350°F and grease your cake pans—flour them lightly to ensure a perfect release.
- Mix Dry Ingredients:
- Inhale the mingled scents of flour and baking powder as you whisk them with salt, making sure no lumps remain.
- Cream Butter and Sugar:
- Beat until the mixture is pale and fluffy, letting your mixer run longer than seems necessary for pillowy cakes.
- Add Eggs and Vanilla:
- Add eggs one at a time, watching as the batter smooths out, then blend in the vanilla for immediate aroma.
- Combine Wet and Dry:
- Alternately add flour and milk, careful not to overmix; the batter should look just combined and glossy.
- Bake the Layers:
- Divide batter, smooth the tops, and bake until golden—the kitchen will smell buttery and sweet.
- Cool Completely:
- Let the rounds rest in their pans briefly, then transfer to wire racks to finish cooling—patience preserves the crumb.
- Make the Blue Buttercream:
- Cream butter, sift in sugar, pour in cream and vanilla, then whip until billowy. Add blue gel, swirling until you reach your dream ocean hue.
- Assemble the Cake:
- Flatten any domes, layer with buttercream, and apply a crumb coat before chilling—your secret to clean lines.
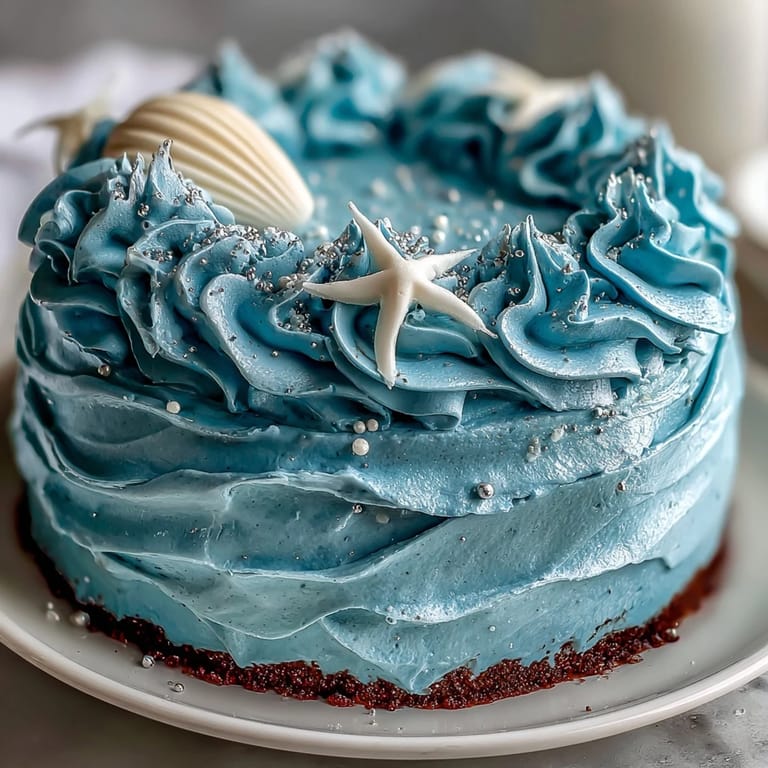
- Create Ocean Waves:
- Frost thickly, then use an offset spatula with a wavy hand for textured, sea-like ripples.
- Make and Decorate with Edible Shells:
- Melt white chocolate and pour into molds. Unmold and shimmer the shells while humming along to your favorite tune.
- Add Sparkle and Chill:
- Arrange shells on the cake, dust on shimmer, and chill until ready to serve—a masterpiece worth every moment.
 Save
Save 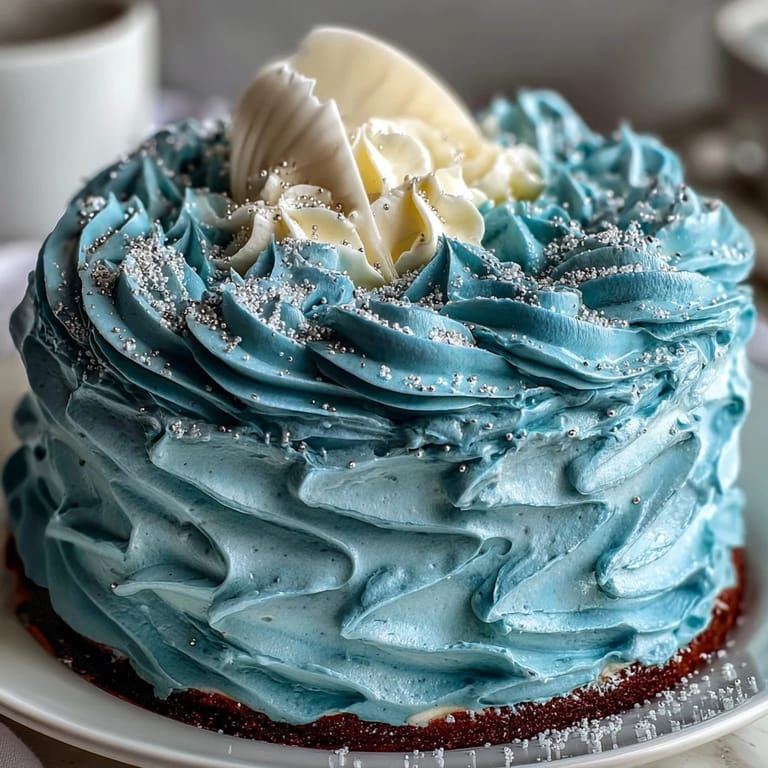 Save
Save One evening, I watched as my little niece carefully chose a shell from atop her birthday slice, declaring it her ‘lucky treasure’ before a chorus of laughter rippled around the room. It’s those tiny, magical moments—shared over something beautiful and sweet—that make every bit of effort in the kitchen worthwhile.
Making Shells That Sparkle
The key to truly enchanting edible shells lies in patience with your molds—don’t rush the chilling or they’ll crack when you unmold them. For the pearl dust, a soft brush and gentle touch go a long way in making the shells glimmer without smudging.
Achieving the Perfect Ocean Blue
Layering different shades of blue food coloring—starting light and adding dabs of deeper gel—lets you coax out those dreamy, natural swells and shadows. Sometimes, a little less blending leads to an even more organic, watercolor look for your waves.
Cake Assembly Confidence
Steady hands aren’t required, but a relaxed, playful attitude is—embrace uneven swirls and unexpected color streaks, as they always add character. Keep an offset spatula handy—you’ll use it for everything from smoothing buttercream to guiding shells into place.
- Chill the cake again after adding shells to set the decorations securely.
- If you’re using shimmer spray, keep a safe distance for an even mist.
- Don’t forget to stand back and admire your finished ocean masterpiece before anyone takes the first slice.
 Save
Save  Save
Save Every time I serve this cake, someone asks for the secret to its charm—and it’s simply the joy and playfulness stirred into every step. Here’s to celebrating signs, seasons, and every sweet moment in between.
Questions & Answers
- → How do I get a deep ocean blue without altering buttercream texture?
Add gel food coloring a little at a time and mix thoroughly between additions; if the buttercream loosens, chill briefly or add a small amount of sifted powdered sugar to restore body.
- → What ensures even baking and stable layers?
Use room-temperature eggs and butter, divide batter evenly between pans, and bake at 350°F until a toothpick comes out clean. Cool in pans 10 minutes, then finish cooling on racks before leveling.
- → How do I make durable edible shells from white chocolate?
Melt white chocolate or candy melts in 20–30 second bursts, stir until smooth, spoon into silicone molds, tap to remove bubbles and chill until set. Work with chilled shells to avoid fingerprints and breakage.
- → Any tips for creating wave texture on the cake?
Use an offset spatula or spatula tip and sweep in short, irregular strokes while rotating the cake. Layer two or three blue shades for depth and add touches of shimmer or silver sprinkles for highlights.
- → How should I store and serve the finished cake?
Keep chilled until serving. For clean slices, bring the cake to room temperature for 20–30 minutes and use a hot, clean knife wiped between cuts. Store leftovers refrigerated up to 3 days.
- → How can I adapt flavors for dietary or taste preferences?
Brighten the vanilla sponge with lemon or add coconut extract for a tropical note. For dairy-free options, use plant-based butter and cream alternatives and check chocolate melts for compatibility.