 Save
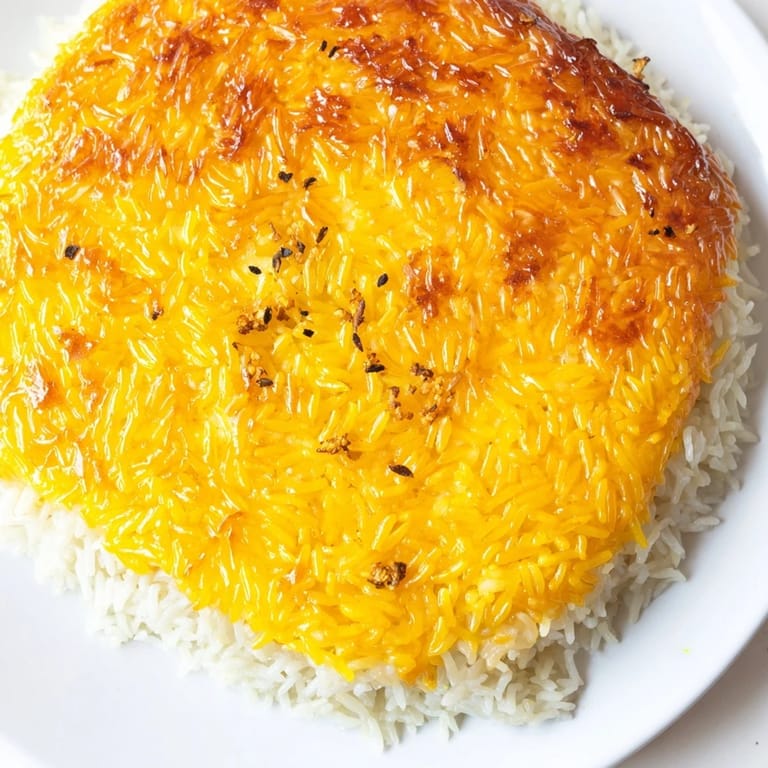
Save There's a moment when you first hear that satisfying crunch of tahdig—that golden, caramelized rice crust—and you understand why Persian cooks have perfected this technique for centuries. I discovered it not in Iran, but in a cramped apartment kitchen where a friend's mother casually inverted a pot of rice like she was revealing a hidden treasure. The kitchen filled with the smell of toasted basmati and caramelized yogurt, and I realized I'd been eating rice all wrong my whole life.
I made this for a potluck once, nervous the tahdig would stick or burn, and instead it came out perfect—so perfect that someone asked if I'd ordered it from a Persian restaurant. That moment taught me confidence in the kitchen, the kind that comes from trusting technique and timing.
Ingredients
- Basmati rice (2 cups): This isn't the time for shortcuts—basmati's length and delicate flavor are what make tahdig sing. Rinse it thoroughly until the water runs clear, or your rice will be gummy instead of fluffy.
- Salt (1 tablespoon for soaking): This seasons the rice from the inside and helps it cook evenly. Don't skip the soaking step; it makes all the difference.
- Saffron threads (1/4 teaspoon): Steep these in hot water to unlock their flavor and golden color, which tints the rice beautifully.
- Plain Greek yogurt (4 tablespoons): This creates the magical tahdig base when mixed with rice—it browns and caramelizes into something crispy and deeply flavorful.
- Vegetable oil and melted butter (2 tablespoons each): Together, they create the perfect medium for crisping that tahdig layer without burning it. Use a nonstick or heavy-bottomed pot for even heat.
- Ground turmeric (1/2 teaspoon, optional): A whisper of turmeric adds warmth and a subtle earthy note that complements the saffron.
- Ground black pepper (1/2 teaspoon): Just enough to remind you that this rice has backbone.
Tired of Takeout? 🥡
Get 10 meals you can make faster than delivery arrives. Seriously.
One email. No spam. Unsubscribe anytime.
Instructions
- Rinse and soak your rice:
- Rinse the basmati under cold water, stirring gently with your fingers until the water runs crystal clear—this removes excess starch. Soak it in a bowl with salt and water for at least 30 minutes; this lets each grain absorb moisture evenly so they'll stay separate and fluffy.
- Parboil the rice:
- Bring a large pot of water to a rolling boil, add the drained rice, and cook for 5 to 6 minutes until the grains are tender but still have a tiny bit of resistance when you bite them. You want them just barely cooked because they'll finish cooking in the oven-like environment of the covered pot.
- Prepare the saffron:
- Grind the saffron threads between your fingers into a powder—this helps release their flavor—then steep them in 2 tablespoons of hot water for 10 minutes. The water will turn a gorgeous golden color, and that's liquid gold for your rice.
- Make the tahdig mixture:
- In a bowl, whisk together the Greek yogurt, 1 tablespoon of saffron water, turmeric if you're using it, and 1 cup of the parboiled rice. Mix it well so the rice is evenly coated—this is what will create your crispy crust.
- Heat the pan:
- Pour the oil and melted butter into your 10-inch nonstick or heavy-bottomed pot and heat it over medium heat until it shimmers slightly. You'll know it's ready when a grain of rice sizzles when it hits the bottom.
- Spread the tahdig base:
- Carefully spread the yogurt-rice mixture evenly across the bottom of the hot pot, pressing it down gently with the back of a spoon. This will be your golden crust, so make sure it covers the whole bottom.
- Layer the remaining rice:
- Gently spoon the rest of the parboiled rice over the yogurt layer, mounding it toward the center to create a gentle dome. Drizzle the remaining saffron water over the top, then use the handle of a wooden spoon to poke a few holes into the rice—these let steam escape so the rice cooks through without turning into a pot of mush.
- Cook low and slow:
- Wrap your pot lid in a clean kitchen towel to trap moisture, then cover tightly and cook over medium heat for 10 minutes—you should hear a gentle crackling sound starting. Reduce the heat to low and cook for 35 to 40 minutes more; the tahdig is developing its beautiful crust during this time, so resist the urge to peek.
- Rest and reveal:
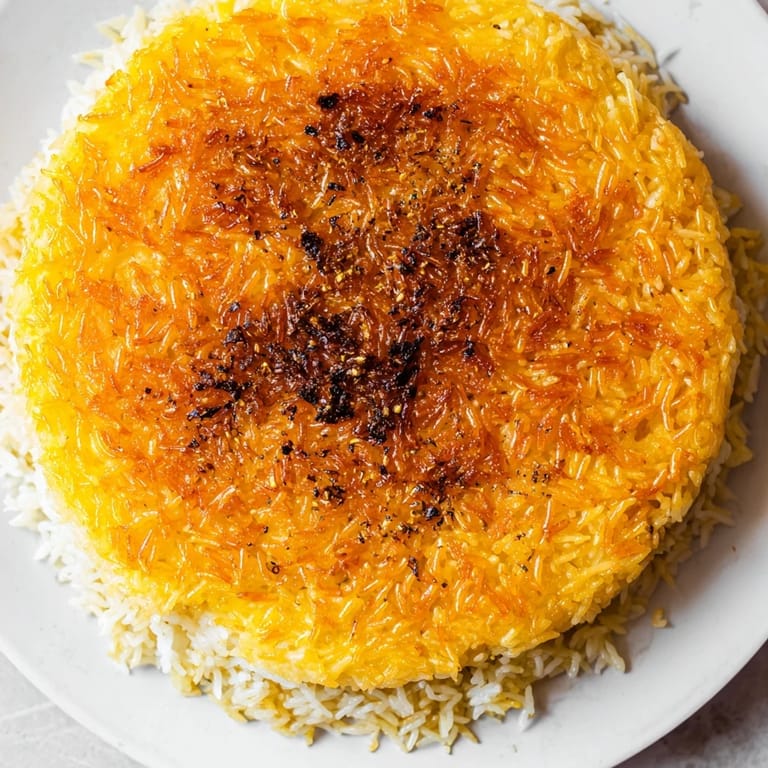
- Remove from heat and let the rice rest for 5 minutes without opening the lid. This gives the tahdig just enough time to set. Then, place a serving platter over the pot, take a breath, and invert it in one confident motion—the crispy tahdig should come right out, golden side up, with all that fluffy rice on top.
 Save
Save I served this to my grandmother, who grew up eating tahdig every Friday, and she closed her eyes after the first bite and nodded slowly—the kind of nod that means you've done something right. That's when food becomes memory, when it connects you to a place and a time you might never have experienced yourself.
Variations and Swaps
Tahdig doesn't have to stop at yogurt and rice. Some cooks use thinly sliced potatoes as the crispy base, which creates a starchy, golden layer that's equally delicious and maybe even easier to manage. You can also use a piece of flatbread torn to fit the bottom of the pot—it becomes wonderfully crunchy and absorbs all those flavored oils. The rice layered on top stays the same either way, so experiment with what speaks to you.
Aromatics and Scent
The real magic of tahdig happens when you add aromatics to the boiling water in step two—a cinnamon stick or a few cardamom pods transform the entire dish into something that smells like celebration. I once added a bay leaf by accident and ended up preferring it, so don't be afraid to follow your instincts. The rice absorbs these flavors subtly, creating layers of complexity that people won't be able to name but will definitely taste.
Finishing Touches and Serving
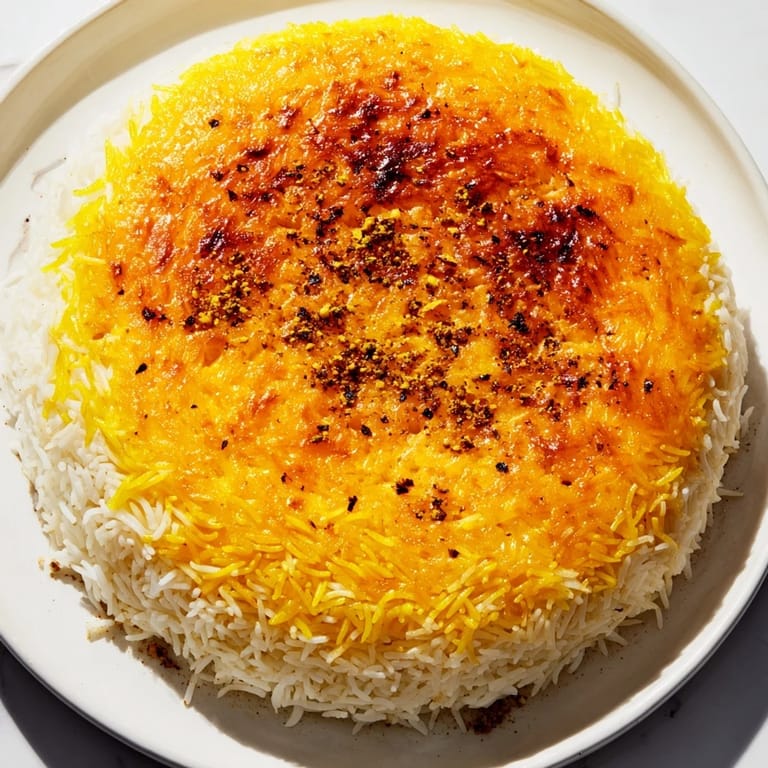
Once your tahdig hits the platter, golden side up, you're not done—garnish matters here. Barberries add a tart pop of color and flavor that makes the whole dish sing, or scatter fresh herbs like cilantro, parsley, or dill across the top. Some people drizzle a little extra saffron water over the rice just before serving for extra aroma and visual drama.
- Barberries or fresh herbs make this dish feel like you're serving something from a special occasion, even on a Tuesday night.
- Let the tahdig cool for just 2 minutes before inverting—if it cools too long, it can stick; too hot, and it falls apart.
- Serve immediately while the tahdig is still crackling and the rice is steaming, because that's when it's at its absolute best.
 Save
Save Tahdig is the kind of dish that reminds you why people gather around food—it's beautiful, it's delicious, and it takes patience and technique to get right. Once you've made it once and heard that perfect crunch, you'll want to make it again and again.
Questions & Answers
- → What is tahdig and how is it made?
Tahdig is a golden, crispy crust formed at the bottom of the pot by layering a saffron-yogurt rice mixture before steaming, resulting in a crunchy texture beneath fluffy rice.
- → How do you achieve the perfect crispy crust?
Using a mix of yogurt, melted butter, and oil helps create a rich layer that crisps evenly over medium-low heat without burning, while covering the pot traps steam for gentle cooking.
- → Can I use different types of rice for tahdig?
Basmati rice is preferred for its fragrant aroma and long grains, which absorb flavors well and stay fluffy after boiling and steaming.
- → What role does saffron play in this dish?
Saffron is steeped in hot water to release its color and aroma, then added to the rice and crust mixture, infusing a rich golden hue and subtle floral notes.
- → Are there alternatives to the yogurt tahdig layer?
Yes, thinly sliced potatoes or flatbread can replace the yogurt-rice crust to create different textures while still forming a desirable crunchy base.
- → How should the pot be handled when cooking tahdig?
Use a heavy-bottomed pot with a tight lid wrapped in a kitchen towel to evenly distribute heat and prevent steam from dripping back onto the crust.