 Save
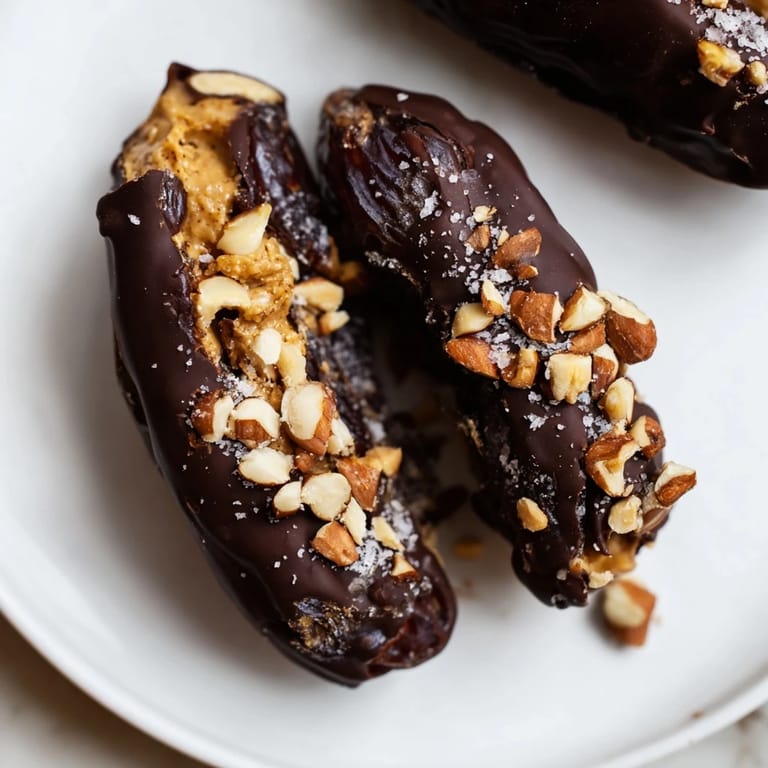
Save There's something magical about biting into a homemade chocolate date that tastes like pure nostalgia—that unexpected moment when you realize you've just made something better than the candy bar you remember from childhood. I stumbled onto this version while reorganizing my pantry and finding a stash of Medjool dates I'd forgotten about, some peanut butter, and a craving that felt oddly specific. What started as a lazy afternoon experiment turned into something I couldn't stop making, and now these little chocolatey parcels have become the treat I reach for when I want something that feels indulgent but actually fuels my body.
I made a batch of these for a friend who'd been battling sugar cravings during a health kick, and watching her eyes light up when she bit into one reminded me that food doesn't have to choose between delicious and nourishing. She ate three in a row and asked for the recipe immediately, which told me everything I needed to know about whether these would become a regular thing in my kitchen.
Ingredients
- 12 large Medjool dates, pitted: These are the sweet, buttery ones that are already soft enough to work with—smaller varieties will be harder to stuff, so don't skip the Medjool upgrade.
- 6 tablespoons creamy peanut butter: The smooth kind works best here since you're filling small pockets and chunky might feel gritty; natural peanut butter works beautifully too.
- 3 tablespoons roasted unsalted peanuts, roughly chopped: This adds a satisfying crunch that makes each bite feel like an actual snack instead of just sweetness.
- 200 g dark chocolate, at least 60% cocoa, chopped: The cocoa percentage keeps these from being too candy-like; go darker if you love rich chocolate or stay at 60% if you prefer sweeter.
- 1 tablespoon coconut oil, optional: A tiny bit makes the chocolate thinner and easier to work with, but it's not essential if your chocolate is already smooth.
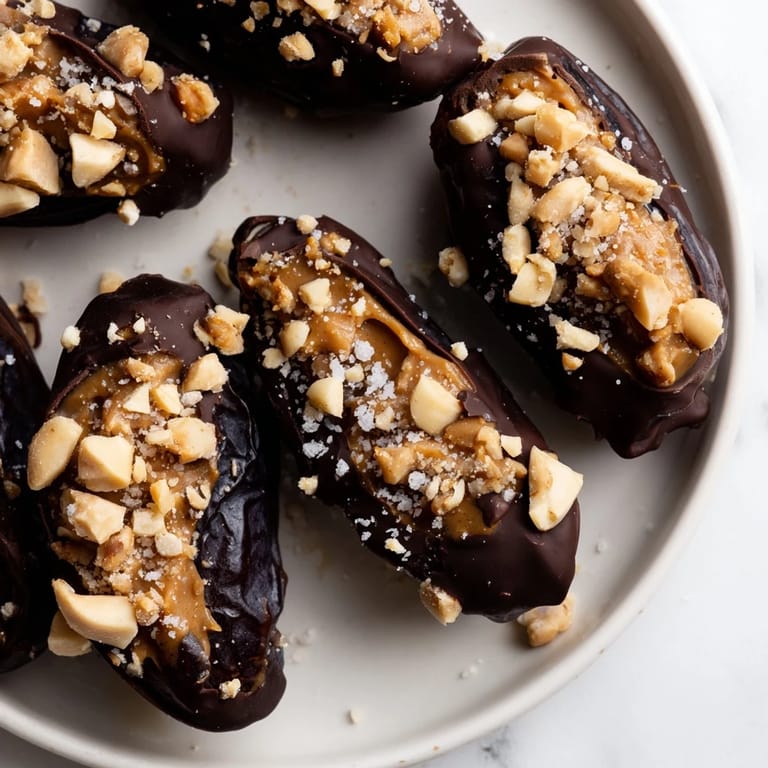
- Flaky sea salt for sprinkling: This is the secret move that makes people pause mid-bite and ask what the flavor just was—it's the salt.
Tired of Takeout? 🥡
Get 10 meals you can make faster than delivery arrives. Seriously.
One email. No spam. Unsubscribe anytime.
Instructions
- Prepare your dates like little boats:
- Slice each date lengthwise on one side and gently coax the pit out if it's still there, then open it up like you're creating a natural pocket. Work gently so the date doesn't tear, and if one does, it's still perfectly edible—just slightly messier.
- Fill with the peanut butter mixture:
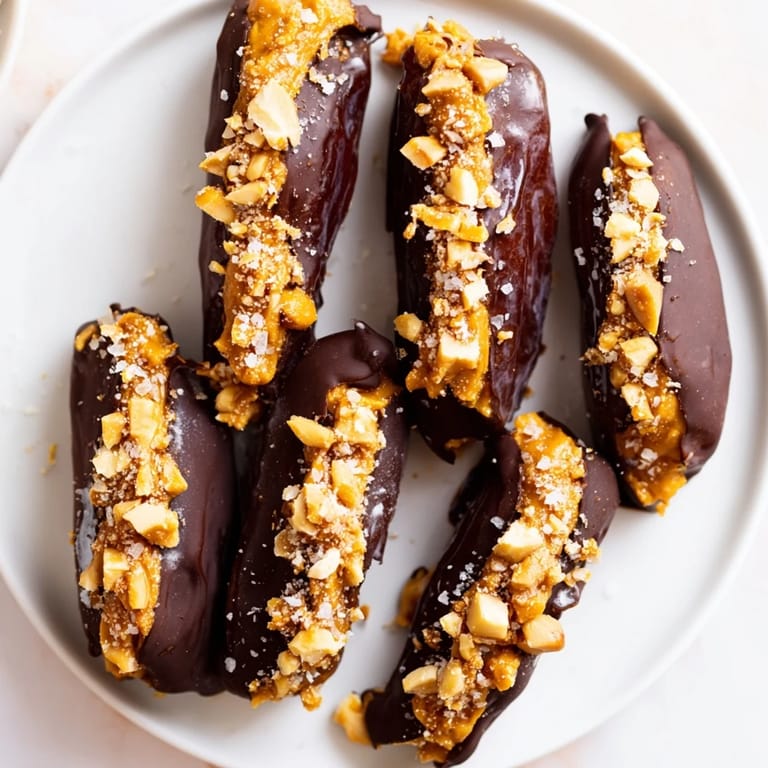
- Spoon about half a tablespoon of peanut butter into each date, then press some chopped peanuts on top before gently closing the date back together. The peanuts should peek out slightly—that's the sign you've done it right.
- Set up your dipping station:
- Line a baking sheet with parchment paper and get your chocolate melting in a microwave-safe bowl using 30-second bursts and stirring between each one. This slow approach prevents the chocolate from seizing up and turning grainy.
- Coat each date in chocolate:
- Use a fork to dip each stuffed date into the melted chocolate, letting the excess drip off before setting it on your parchment paper. Work quickly but don't stress—a slightly uneven coating looks homemade in the best way.
- Add salt if you're feeling it:
- While the chocolate is still wet, sprinkle a tiny pinch of flaky sea salt over each piece. This step is optional but absolutely worth trying at least once.
- Chill and serve:
- Pop the whole sheet into the refrigerator for 10 to 15 minutes until the chocolate sets. They're best eaten cold or at room temperature, and they keep in an airtight container for up to a week if they last that long.
 Save
Save These became my go-to gift when someone mentioned they were trying to cut back on processed foods, because handing someone a little box of homemade chocolate dates feels thoughtful in a way that store-bought candy never quite does. There's something about offering food you made with your own hands that shifts the whole conversation around indulgence.
Why These Work as a Snack
The combination of natural sweetness from the dates, protein from the peanuts, and fat from the chocolate creates a snack that actually keeps you satisfied instead of crashing your energy twenty minutes later. I've found these pair perfectly with morning coffee or as an afternoon pick-me-up when the 3 p.m. slump hits, and they're substantial enough that one or two pieces actually feels like eating something rather than just a taste.
Customizing Your Batch
Once I understood the basic formula, I started experimenting with different fillings and toppings, which is where this recipe gets really fun. Almond butter gives a lighter flavor, cashew butter feels more luxurious, and sunflower seed butter works perfectly if you're avoiding nuts while still wanting that savory crunch.
Storage and Serving Ideas
Keep these in an airtight container in the refrigerator where they'll stay perfect for up to a week, though they're usually gone before then. They also travel well if you're bringing them somewhere, and they taste just as good at room temperature as they do straight from the fridge.
- Let them sit out for five minutes before eating if you prefer them slightly softer than straight-from-the-fridge cold.
- These are excellent for lunch boxes, road trips, or when you need to bring something to share that won't make everyone judge you for being thoughtful.
- If you're making a larger batch for a party, double or triple everything and store them on parchment between layers in the container so they don't stick together.
 Save
Save These chocolate date snickers remind me that some of the best treats are the ones you make yourself, where you control the quality and the story. Every batch tastes like a small win, and sharing them feels like sharing something that took just enough effort to matter.
Questions & Answers
- → What type of dates work best for this dish?
Large Medjool dates are ideal due to their softness and natural sweetness, making them perfect for stuffing and coating.
- → Can I substitute the peanut butter?
Yes, almond or cashew butters offer delightful variations, while sunflower seed butter works for a nut-free option.
- → How do I melt the chocolate smoothly?
Heat chocolate with coconut oil in short microwave bursts, stirring frequently, to achieve a smooth coating consistency.
- → Is refrigeration necessary after coating?
Yes, chilling helps the chocolate set firmly for a clean bite and enhances texture contrast.
- → What toppings complement these treats?
A light sprinkle of flaky sea salt adds a pleasant contrast to the sweet and rich flavors, but it is optional.