 Save
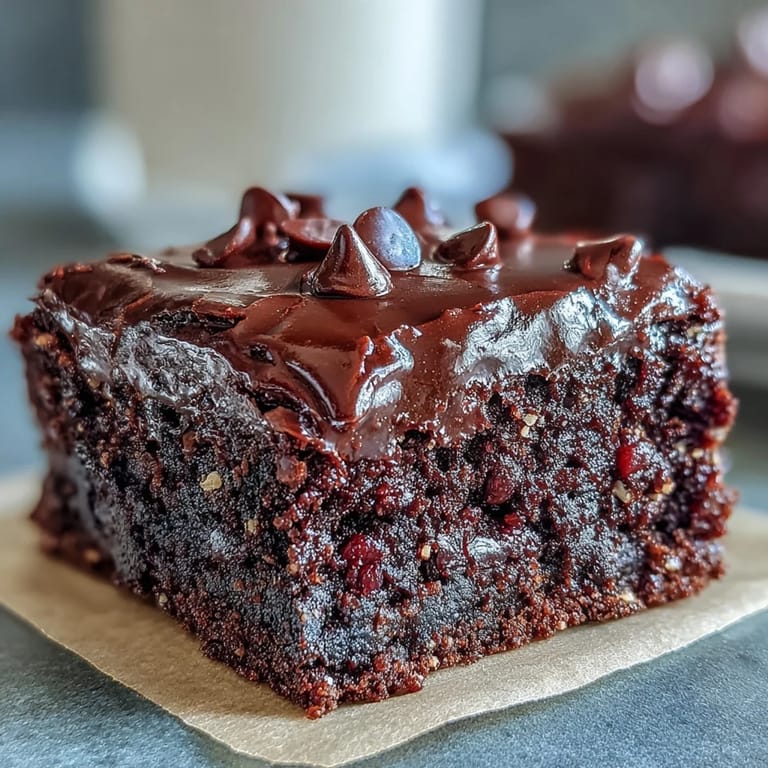
Save The first time I blitzed black beans into brownie batter, I was skeptical. My kitchen filled with the rich scent of cocoa, and the beans simply vanished into the mixture, leaving nothing but anticipation. As the bites baked, their chewy, chocolatey aroma actually made my neighbor pop her head in to ask what I was making. Honestly, who knew fiber could smell so tempting? That sense of curious excitement has stuck with me every single batch since.
I once brought a tub of these brownie bites to a picnic in the park without mentioning the black bean secret. As the tin slowly emptied, someone asked for the recipe, and their shock when I revealed the main ingredient was worth every slightly embarrassed laugh around the blanket. They became an instant group favorite, and now I always get asked to bring them to any casual gathering.
Ingredients
- Black beans: They create an ultra-moist base—blend well for invisible results and no bean flavor at all.
- Eggs: These hold the bites together; room temperature eggs make blending smoother.
- Pure maple syrup or honey: Natural sweetness gives depth—just taste and adjust if you like it more or less sweet.
- Coconut oil (melted): Adds richness; let it cool before adding so it doesn’t cook the eggs.
- Vanilla extract: Boosts the chocolate flavor and rounds out all other tastes.
- Unsweetened cocoa powder: Pick Dutch-process if you can for the deepest color and taste.
- Coconut sugar or brown sugar: Brings a little caramel note and sweetness; either works well.
- Gluten-free oat flour: Just enough to bind, but use certified gluten-free oats if that matters for you.
- Baking powder: Lightens the texture slightly so they are fudge-like, not dense.
- Baking soda: A small amount helps with rise and keeps them soft.
- Fine sea salt: Makes all the flavors pop.
- Dark chocolate chips (gluten-free certified): Stir them in at the end for those melty pockets.
- Optional walnuts or pecans, chopped: Stir these in for a little crunch on each bite.
Tired of Takeout? 🥡
Get 10 meals you can make faster than delivery arrives. Seriously.
One email. No spam. Unsubscribe anytime.
Instructions
- Preheat and Prep:
- Set your oven to 350°F and line a mini muffin tin or give it a spritz of cooking spray so nothing sticks.
- Blend the Wet Ingredients:
- Grab your food processor and let it purée the beans, eggs, maple syrup, coconut oil, and vanilla until the mixture is completely smooth—no lumps allowed.
- Add the Dry Ingredients:
- Shower in cocoa, coconut sugar, oat flour, baking powder, baking soda, and salt, blending until the batter looks rich and glossy.
- Fold in Add-Ins:
- Scoop the chocolate chips (and optional nuts) in by hand with a spatula so you don’t crush them.
- Fill the Tin:
- Spoon the thick batter into your mini muffin tin, about 3/4 full for each bite—sticky work but worth it.
- Bake:
- Bake for about 18 to 20 minutes until the tops look set and a toothpick poked in comes out with moist crumbs.
- Cool:
- Let them rest in the pan for 10 minutes so they firm up, then tip onto a rack to cool completely for the best texture.
 Save
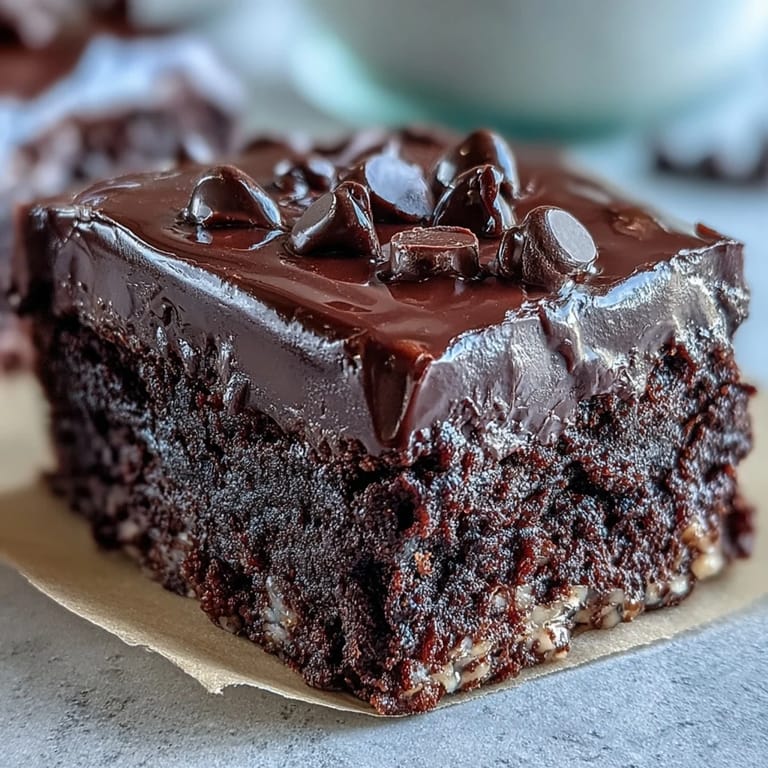
Save One chilly afternoon, I served these with hot mugs of tea after a long walk with friends. For a moment, the kitchen was quieter than usual as everyone savored the first bite—nothing brings people together quite like surprise brownies that feel wholesome and indulgent at the same time.
The Secret to Fudgy Brownies with Beans
Getting the blend just right turns humble black beans into a creamy, undetectable base. I always scrape down the sides of my processor mid-blend to catch any stubborn skins, ensuring the final bites are smooth—not gritty or grainy.
How to Store for Maximum Freshness
To keep these as fudgy as possible, let them cool fully before sealing in an airtight container. If I know I’ll need them beyond three days, I pop them in the fridge—bonus, they taste great cold straight from the fridge for a midnight snack.
Small Adjustments Big Results
I once swapped honey for maple syrup and noticed the brownies were even softer the next day, perfect for those who like them extra gooey. Using mini chocolate chips helps the melty bits distribute evenly, making every bite chocolatey—don’t skip lining the pan, or removing them can get messy.
- Scatter a few chocolate chips on top before baking for extra appeal.
- Let the bites sit a few hours after baking for the flavors to deepen.
- If you’re making them nut-free, just bump up the chocolate chips for extra richness.
 Save
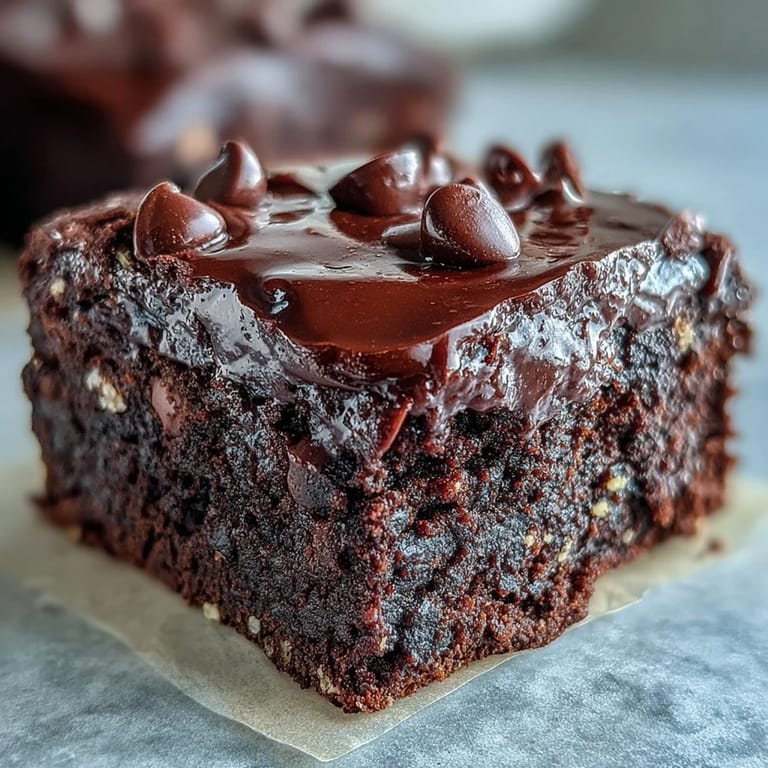
Save Hope you enjoy these brownie bites as much as I do—there’s nothing quite like a chocolate treat that feels both clever and good for you. Happy baking, and may your fiber never go unnoticed!
Questions & Answers
- → Can I make these vegan?
Yes. Replace the eggs with flax eggs (1 tbsp ground flax + 3 tbsp water per egg, chilled) and use agave or maple syrup plus certified vegan chocolate chips. Texture will be slightly different but still fudgy.
- → How do black beans affect texture and flavor?
Pureed black beans create a dense, moist crumb while adding fiber and body. Their mild flavor blends with cocoa and chocolate, yielding a rich, chocolate-forward bite without a beany aftertaste when well blended.
- → How do I know when they’re done baking?
Bake 18–20 minutes in a mini muffin tin. They are ready when centers are set and a toothpick comes out with moist crumbs (not wet batter). Let cool 10 minutes in the pan to finish setting.
- → Can I swap the oat flour for something else?
Yes. Almond flour can be used but will produce a slightly denser, richer result; reduce quantity slightly and monitor texture. Ensure any swap keeps the gluten-free standard if needed.
- → What boosts chocolate intensity?
Add a pinch of instant espresso powder to the dry mix or fold in extra dark chocolate chips. Using higher-percentage cocoa or melting a bit of dark chocolate into the batter also deepens the chocolate notes.
- → How should I store them and can they be frozen?
Store cooled bites in an airtight container at room temperature for up to 3 days or refrigerate up to a week. For longer storage, freeze in a single layer, then transfer to a sealed bag for up to 2 months; thaw at room temperature.